Welcome, plant lovers! Today, we are exploring the wonderful world of moss poles-a must-have tool for anyone wanting to take indoor care for climbing plants to the next level. Whether you want to know all about the benefits to the mistakes to avoid with moss poles, this is the place to be. By the time we’re through, you’ll know exactly how to assist your plants in climbing higher, growing healthier, and looking more stunning than ever.
It is the journey of the moss pole: one of trial and error, discovery, and patience thrown in for good measure. It’s about working with nature to allow your indoor vines to reach their true potential. Whether one is already using a moss pole and wants to improve the routine or considering adding one to one’s plant collection, this guide becomes the go-to resource.
Let’s start our journey and learn how to use moss poles effectively to ensure your plants thrive.
What Is a Moss Pole and Why Does Your Plant Need One?
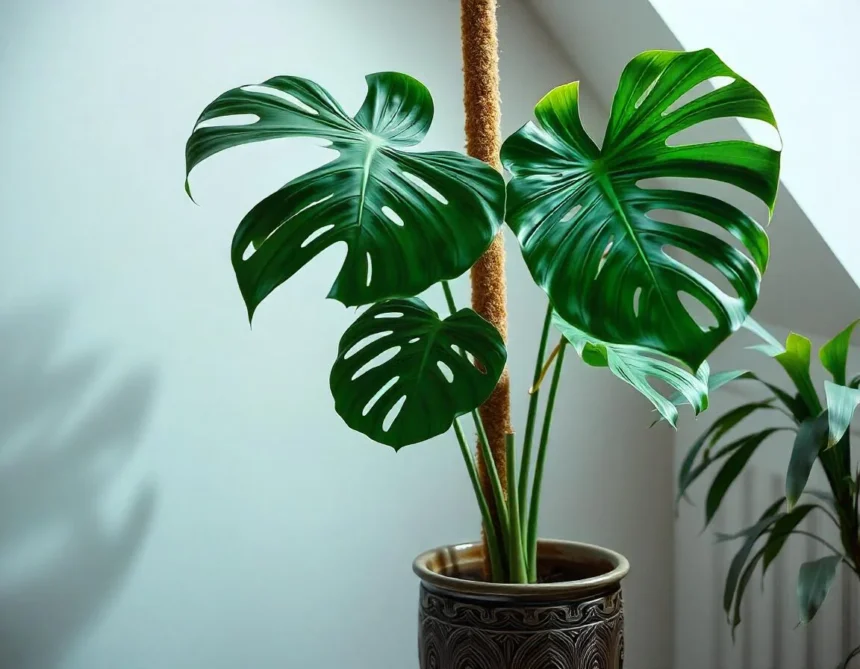
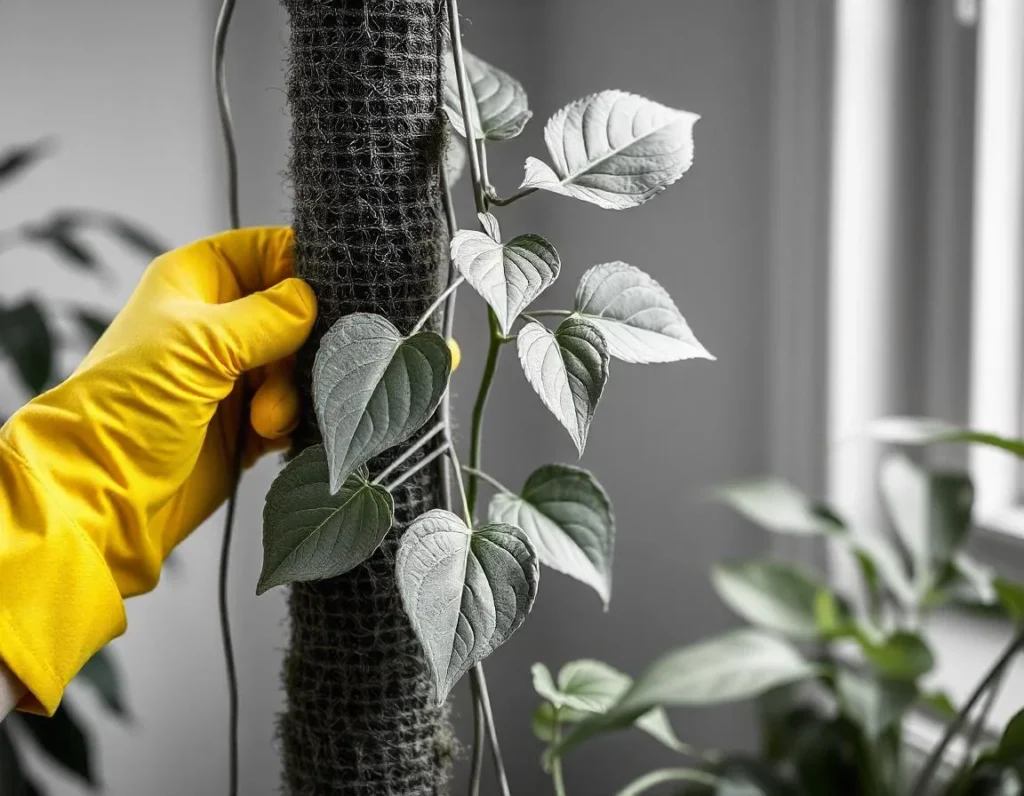
The moss pole, in simple terms, is a support system covered with moss for climbing plants. These climbing plants, sometimes called “epiphytes,” naturally grow onto trees in their natural environment, using tree trunks and branches for support as they stretch for sunlight. The moss pole is an indoor replicate of this natural environment. It allows plants such as Monstera deliciosa, Philodendron, and Pothos to climb, which enhances leaf size and encourages the plant to grow healthier and more mature.
Just like vines in the garden, they need some form of support. Giving it a moss pole mimics the environment in nature and encourages these plants to grow upwards, which gives off that feel of a lush jungle so many people desire with their plants. Moss poles also give something for the plant’s aerial roots to cling to, assisting in nutrient uptake and overall growth. If you cannot seem to get that Monstera to finally bring forth those beautiful fenestrations, perhaps a moss pole is the answer for which you’re looking.
My First Moss Pole Mistakes (and What You Can Learn from Them)
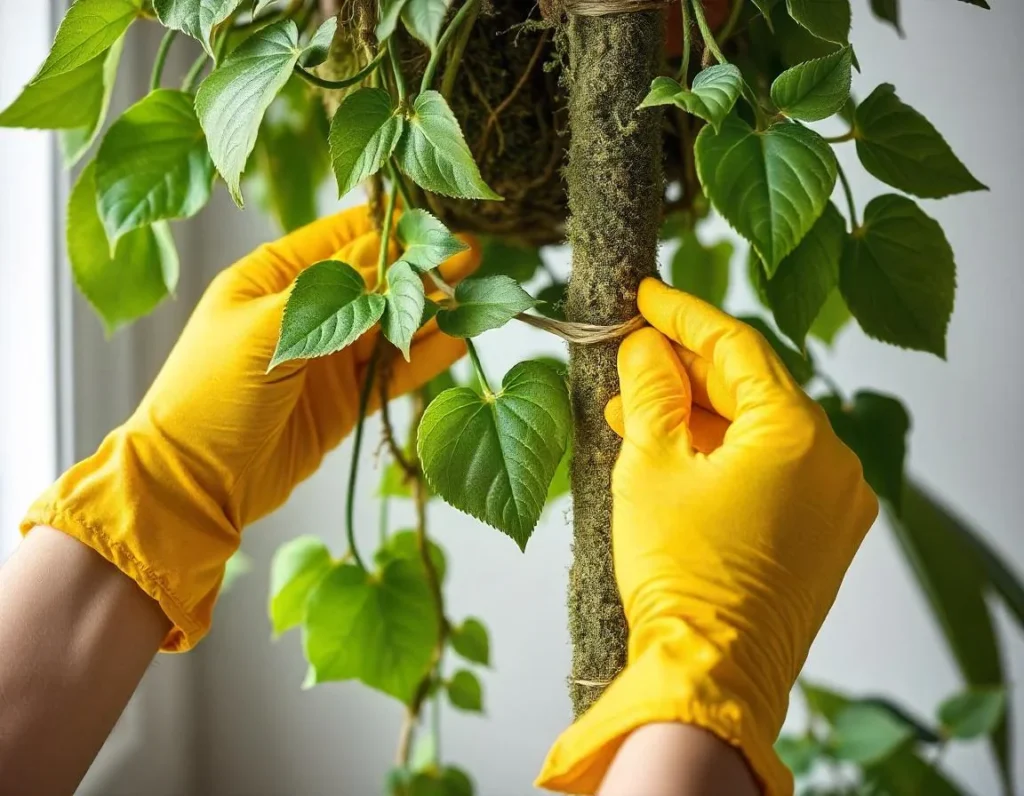
My moss pole journey started in 2020, and boy, am I glad to say I made plenty of mistakes along the way. That’s exactly how I learned what works best. Today, I want to share with you the missteps I took so that you can avoid them. One of my first mistakes was using plastic hardware mesh. Although easy to use and less time-consuming, it didn’t support the weight of the plant, nor did it retain the moisture required for the good development of the aerial roots.
Lesson #1: Never compromise on quality. Choose sturdy materials with moisture-retentive properties.
Another problem I encountered was the use of low-quality sphagnum moss. It smelled bad and decomposed rather quickly, which in turn would affect my plants’ health. Ever since then, I have been using high-quality New Zealand sphagnum moss, which is really good at retaining moisture, does not smell, and offers a nice environment for the growth of roots.
Lesson #2: The quality of your sphagnum moss matters more than you think. Good moss makes for a good moss pole.
The third big mistake was not keeping my moss pole moist enough. When the moss pole dries out, it becomes ineffective-your plant’s aerial roots can’t get to water, and all of the advantages of the moss pole are lost.
Lesson #3: Consistency in keeping your moss pole moist is vital for maintaining healthy root growth.
How to Create the Perfect Moss Pole for Your Climbing Plants
Creating your own moss pole doesn’t have to be daunting. In fact, with the right materials, you can craft a durable, functional moss pole for your favorite climbing plants. To start, gather the following materials:
- Sturdy wire mesh (galvanized wire is a great choice for its durability).
- High-quality sphagnum moss.
- Twine or plant ties.
- A pole or stake for extra support if needed.
Step 1: Shaping the Wire Mesh
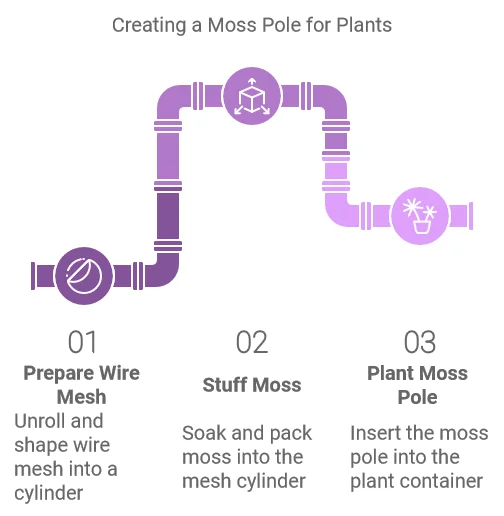
First, unroll your wire mesh into a cylindrical shape and make it wide enough to stuff moss inside. Make sure not to fill the middle too much so that your pole has something to hold. Fasten the edges of the mesh using some ties so that the cylinder is secure.
Step 2: Stuffing the Moss
Soak the moss in water for about 30 minutes before putting it inside your wire mesh. This makes sure that it is really well hydrated. Begin stuffing your moss into the mesh cylinder, pressing it firmly as you go, to make sure it stays compact and doesn’t fall out over time. A tightly packed moss pole will hold moisture longer and provide a stable climbing surface for your plant.
Step 3: Planting the Moss Pole in the Container
Once your moss pole is prepared, plant it into your plant’s container. Let the bottom of the moss pole be seated well into the soil. You can use a stake or, if necessary, tie the pole onto the container to secure it upright. This may be necessary with heavier plants and larger moss poles.
The Benefits of Moss Poles: Why Your Plants Will Thank You
Adding a moss pole to your indoor jungle isn’t just for aesthetics; it actually has some real health benefits for your plants:
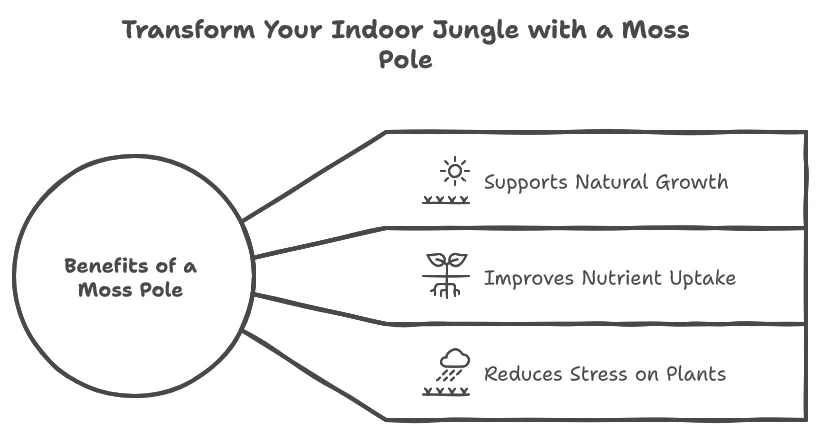
Supports Natural Growth: Climbing plants naturally thrive when there is a vertical structure their aerial roots can attach themselves to. Moss poles allow them to grow naturally upward, which often results in larger leaves and better overall growth.
Enhances Nutrient Absorption: Aerial roots are able to take in nutrients from the moss as well, especially if you use nutrient-rich water or fertilize the moss directly. The effect is that plants will be healthier and grow faster.
Stress Reduction on Plants: Moss pole removes stress from the base of the plant. It supports the weight of the plant, enabling its root system to develop more in order to nourish the plant rather than simply ‘holding’ the plant upright.
How to Care for a Moss Pole
A moss pole is not a set-and-forget tool; it needs care, just like the plant attached to it. Here’s how:
Moisture is Key: As mentioned earlier, keeping the moss moist is crucial. When moss dries out completely, it loses its ability to rehydrate easily, making it challenging for aerial roots to stay healthy. Water your moss pole every two to three days. Use a spray bottle or a squeeze bottle to ensure even distribution without overwatering.
Occasionally Fertilize: Moss poles could be fertilized once in a while, too. In your water, apply a weak solution of fertilizer every several weeks to directly feed the air roots. This will help the plant grow faster and healthier.
Routine Maintenance: Check your moss pole regularly for pests or mold. High humidity and organic material attract bugs, so be vigilant. When your moss pole develops mold, consider removing the affected sections and replacing the moss.
Choosing the Right Type of Moss Pole
Moss poles are by no means created equal, and you may wish to consider the following options for your particular needs:
Closed-back plastic poles offer ease of use and can retain moisture for fairly extended periods. They are good for those who are not accustomed to frequent care for plants or for those seeking very low-maintenance plant culture.
Wire Mesh Moss Poles: These provide more surface area and can allow for a denser, bushier growth. However, they dry out faster and require more regular watering.
DIY Wooden Plank: This is a rustic option where wooden planks could also serve as supports to climbing plants. It should be a good choice if one wants something with an industrial aesthetic or one who wishes to experiment with different kinds of materials.
Common Moss Pole Problems and How to Solve Them
Problem #1: Moss Pole Does Not Stay Moist
The most common issues with moss poles are keeping them consistently moist. One option to alleviate this can be turning to a closed-back plastic moss pole that retains moisture longer than others. Alternatively, you can take a different approach by wrapping the moss pole with plastic wrap to seal in the moisture for the time being.
Problem #2: Aerial Roots Are Not Growing into Moss
This may be because of dryness, lack, or low humidity. Or perhaps using the wrong type of moss. Make sure your moss is always damp and of good quality. Increasing the humidity near your plant by either applying a humidifier or grouping plants together can also provide incentives for root attachment.
Problem #3: Moss Pole Toppling Over
Larger plants require support, and one may plant a bamboo stake behind the moss pole for additional stability or employ a wider base for securing the pole in the pot.
Top Mistakes to Avoid with Moss Poles
Mistakes are part of the journey, but avoiding these common errors can save you time, money, and hassle:
- Using Low-Quality Moss: Bad quality sphagnum moss can be foul-smelling and deteriorates very rapidly. Use good moss.
- Not Watering Consistently: Moss poles need consistent watering to be truly effective. Remember, dry moss is pretty useless for aerial roots.
- Improper Extension: Any extension to the moss pole should be firmly attached, and there should be sufficient overlap for the seamless extension of that pole.
Low Maintenance Alternatives to Moss Poles
If moss poles seem like too much of a commitment, there are other ways to support your plants:
- Bamboo Stakes: These are effective and will add a minimal look to your plants. They do not provide moisture, but they work wonders for structural support.
- Wooden Planks: These allow roots to attach to them and add a rustic touch. It is a great mix of function and aesthetic, especially for industrial or natural-themed interiors.
- Letting Plants Trail: Not all climbing plants must climb. Some are quite handsome simply trailing from shelves or hanging baskets, such as Pothos.
Incorporating Moss Poles into Your Plant Routine
Now that you know the what, why, and how about moss poles, let’s dive into the how-to seamlessly introduce these into your current plant regimen. Consistency is everything. Incorporate the watering of moss poles into your schedule routinely, which would usually be every other or third day, just enough to keep moss poles moist but not soggy.
Fertilizing is another aspect that’s easily incorporated into your existing routine. Every few weeks, take a weak nutrient solution to water your pole. This way, the roots inside the moss will further your plant’s growth.
Why Moss Poles Elevate Your Indoor Garden
Moss poles are more than just plant accessories they’re a means to unlock the full potential of your indoor garden. By using moss poles, you’re mimicking natural conditions that allow epiphytes to thrive. You’re encouraging vertical growth, which not only saves space but also creates stunning visual displays. Imagine a corner filled with lush, climbing Monsteras, their large fenestrated leaves reaching for the ceiling. It’s a compliment to your green thumb and an addition to your home beauty.
Moss poles further allow you to experiment in propagation. While the plant is growing, directly from the aerial roots that are embedded into the pole, you may propagate new plants, which is a fantastic method for expanding your collection or sharing with friends.
Conclusion: Master Moss Poles to Master Plant Growth
Conclusion Moss poles, like other things in life, are worked out with patience, mistakes, and adaptations from practice. The moss pole is not strictly to provide your plants with something to climb on, but to create a healthy environment for the aerial roots, which in turn will help your plant grow much larger, healthier, and more vibrant.
Whether a plant newbie or green-thumbed extraordinaire, moss poles create indoor gardens that can take the next step in their care. Everything plays an important role in letting your plants achieve perfection, from the right materials to the maintenance of moisture.
If you enjoyed this tutorial, be sure to read some of our other indoor gardening and plant care articles. Remember, every climbing plant wants to reach for the sky, and with a moss pole, it’s just that-you’re giving it a chance.

